🔑 Day 3 Lab-1💻: Unlocking the Power of the Cloud — How to Create Your AWS Account in Simple Steps!


We are diving into a crucial step in our cloud journey: creating your very own AWS account. This milestone will open the doors to a world of possibilities, empowering you to leverage the vast array of services and resources offered by Amazon Web Services. Whether you’re an aspiring cloud professional, a startup entrepreneur, or simply eager to explore the potential of the cloud, creating an AWS account is the first step towards harnessing the transformative power of this leading cloud platform. So, let’s get started and unlock the full potential of AWS! 💪
AWS Account Signup
1. Open the Browser and hit the URL: aws.amazon.com/console
2. Click on “Create an AWS account”

3. Sign up for AWS Will be opened: Provide the required details :
i. Root user email address: Used to recover account.

ii. AWS Account name: To identify the account easily.

iii. Click on “Verify email address”.

4. A verification code will be sent to the registered email provided as part of the “Root user email address”
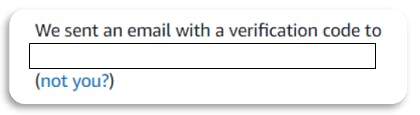
5. Enter the verification code which we got on registered email:
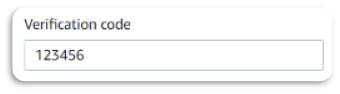
6. Click on “Verify”.

7. We can see that email verification is successful.

8. Now, we must create a password for the root user.
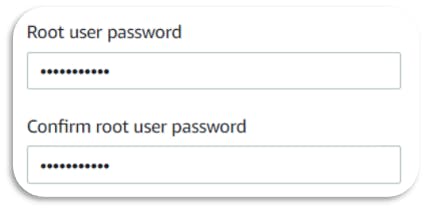
9. Click on “Continue (step 1 of 5)”

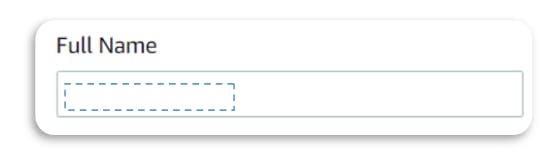
10. Now we must provide the contact information details like Full name, phone number, address, and country.
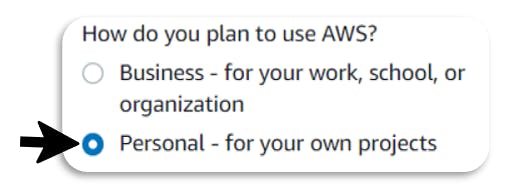
i. Choose the plan for “How do you plan to use AWS?”
ii. Whom should we contact for this account:
iii. Provide your phone Number:

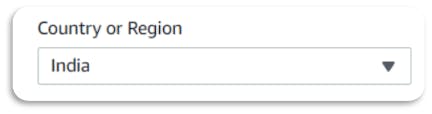
iv. Choose country or region from the drop-down:
v. Enter Address:

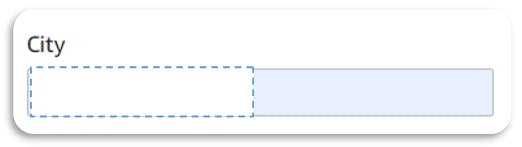
vi. Enter “City”:
vii. Enter “State, Province, or Region:

viii. Enter “Postal Code”:

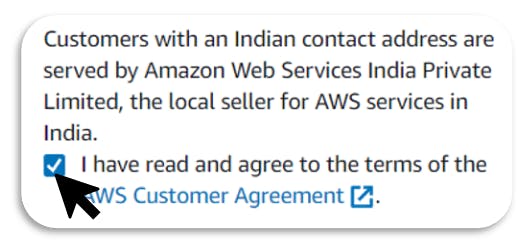
ix. Select the “checkbox” to agree to the terms:
x. Click on “Continue (step 2 of 5) “

11. Now we must provide the Billing information details like Credit or debit card details, exp date, CVV, and billing address:
i. Enter Credit or Debit card number:

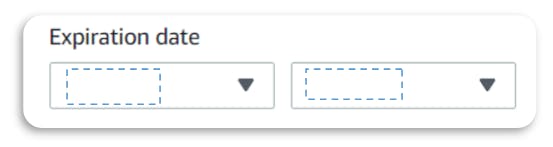
ii. Provide Expiration date:
iii. Enter The holder’s Name:

iv. Enter CVV:

v. Choose billing address:

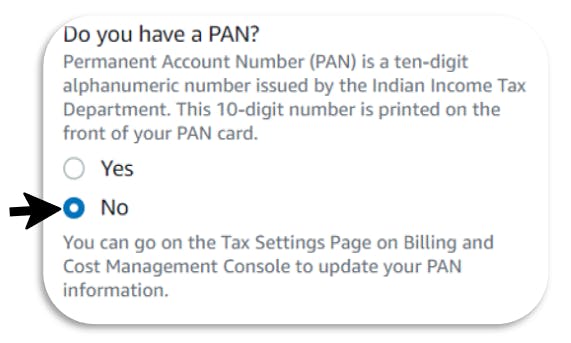
vi. Choose “yes/no” for PAN details:
vii. Click on “Verify and Continue (step 3 of 5)”.

viii. An OTP will be triggered to the registered Mobile number and click on “CONFIRM”.

12. Now we must “confirm our identity”,
i. Choose a Text message (SMS) for “How should we send you the verification code”.

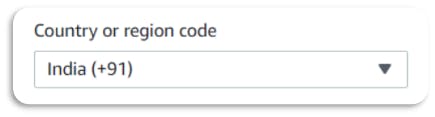
ii. Select the Country or Region code from the drop-down
iii. Enter your Phone Number.

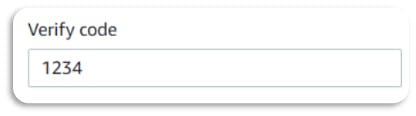
iv. Enter the characters shown in the security check:

v. Click on “Send SMS (step 4 of 5)”

vi. A 4-digit OTP will be generated to the provided mobile number.
vii. Click on “Continue (step 4 of 5) “.

viii. Choose the options that suit for you from the drop-down for Primary.

ix. Click on “Continue (step 4 of 5) “

x. Select the support plan: “As Basic support — Free”.

xi. Click on “Complete sign up “

xii. Now, we have successfully created the AWS Account, and we can see the congratulations page.

14. Click on “Go to the AWS Management Console “ , Let’s explore the AWS Management Console.

Conclusion :
We have successfully created an AWS Account and will learn how to sign in with the root create credentials in the next lab session.
Thank you
🌟 I want to express my heartfelt appreciation to each and every one of you who took the time to read my blog. I am truly grateful for your presence on this learning journey. 🌟
💡 I would also like to extend an open invitation for feedback. As I continue to share my knowledge and insights, I understand that growth comes from acknowledging and learning from our mistakes. So, if you spot any errors or have suggestions for improvement, I genuinely encourage you to correct me.
Your valuable input will not only help me enhance the quality of my content but also contribute to the collective learning experience for all of us. 💡